

 after
after
 before
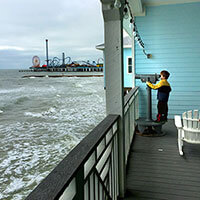
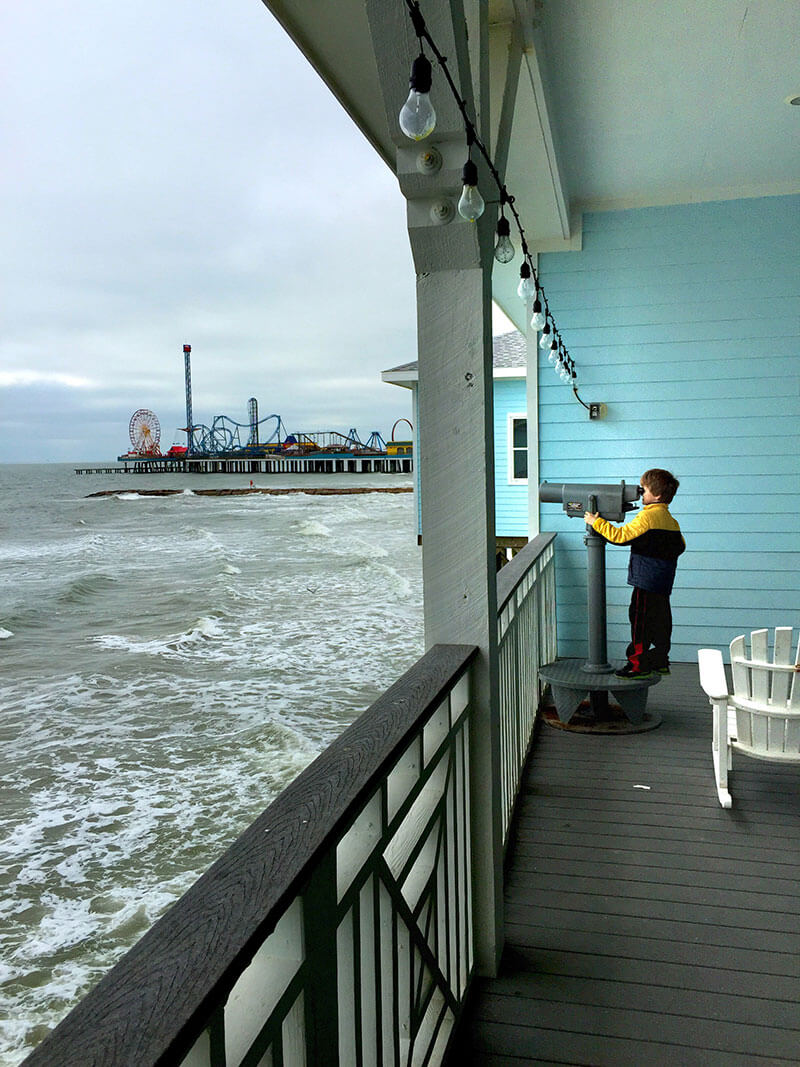
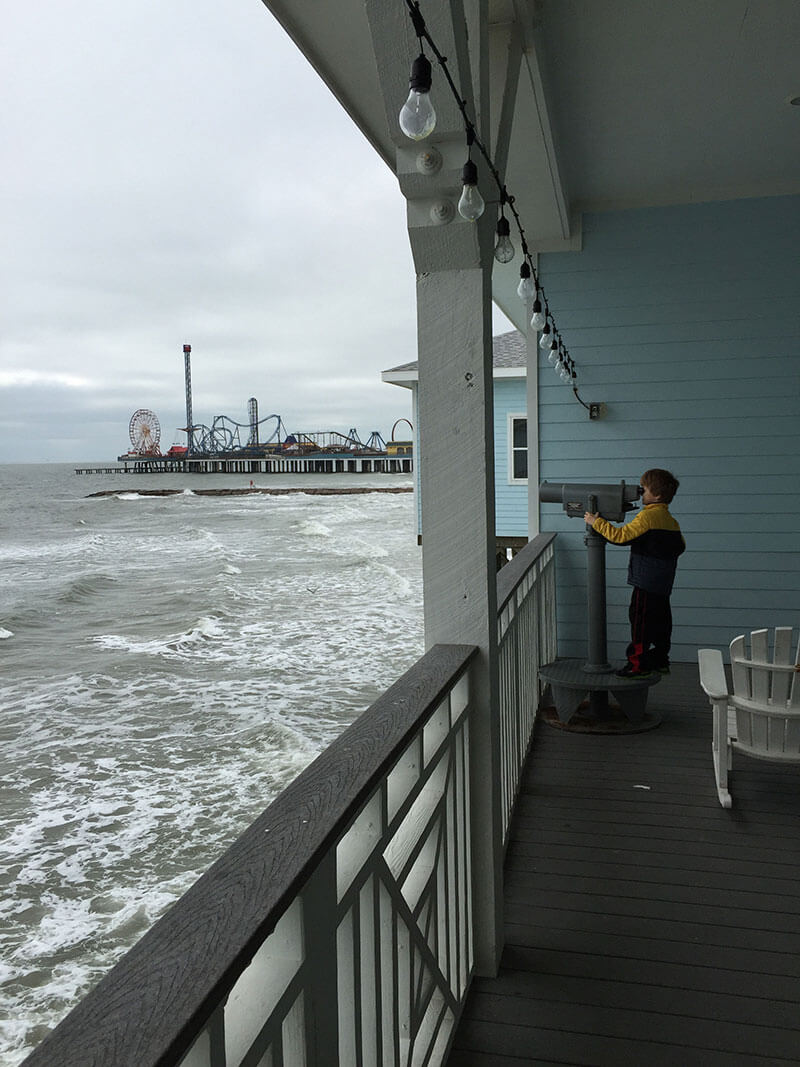
This tutorial will use a graduated mask to selectively lighten and draw focus to the boy in the photo. It will then alter what's outside of the mask to increase saturation and contrast to make the pier and water color more prominent.
 after
after
 before
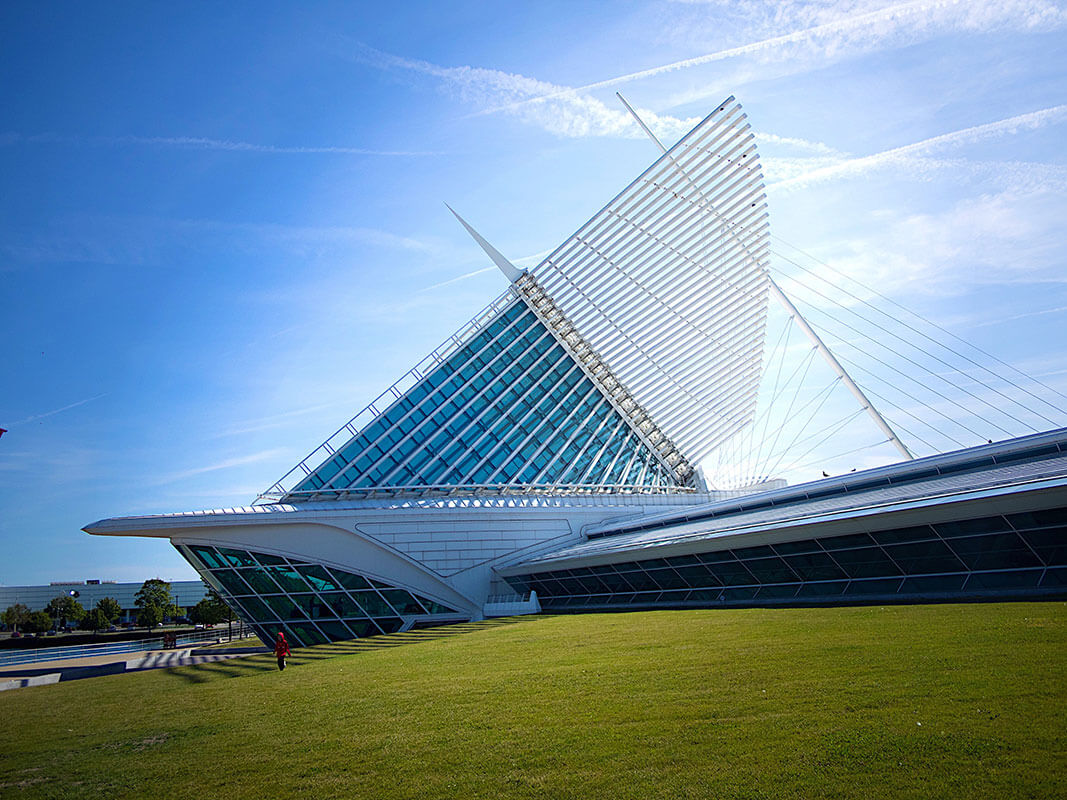
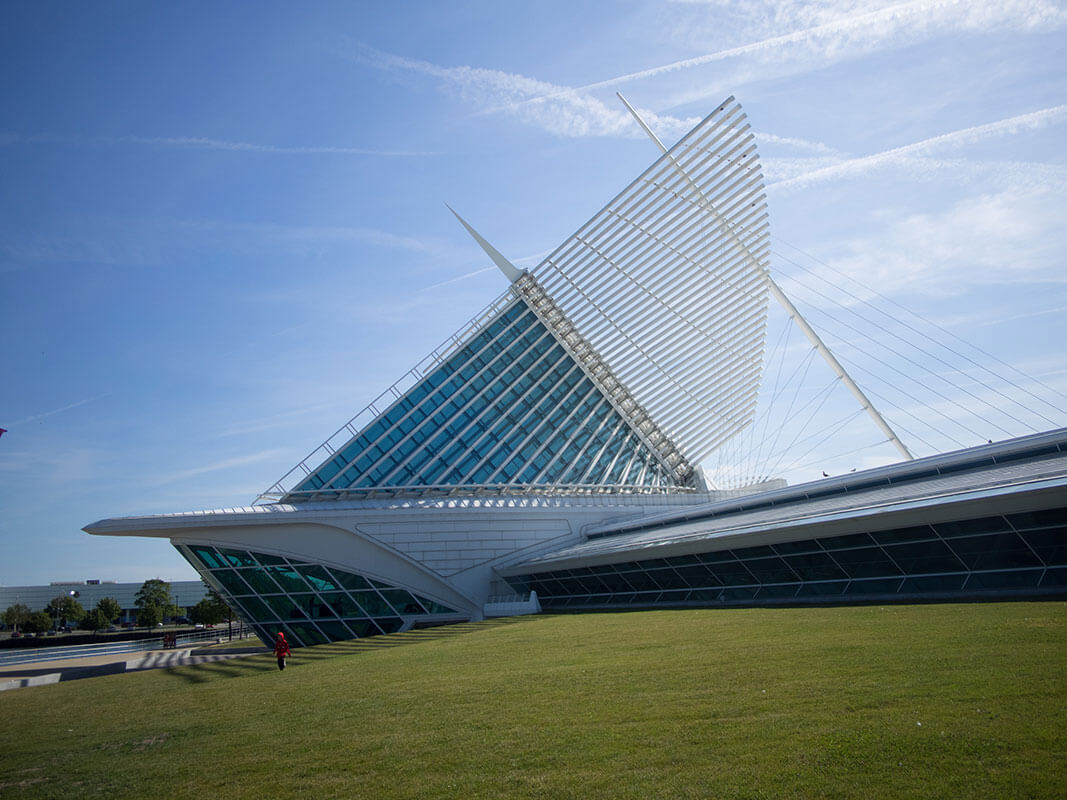
This tutorial will apply a few subtle changes to bring attention to the interesting architecture. We will increase saturation slightly and then use a radial gradient to bring attention to the building. Sometimes it just takes a few small tweaks to improve the overall look.
 after
after
 before
In this tutorial we will use a couple of graduated filters to work on the foreground and sky. We will also use 2 custom filters. One to add complexity to the light in the foreground and another to enhance the color of the sunset and clouds slightly.
 after
after
 before
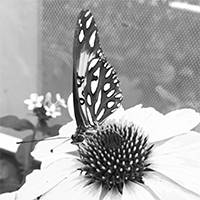
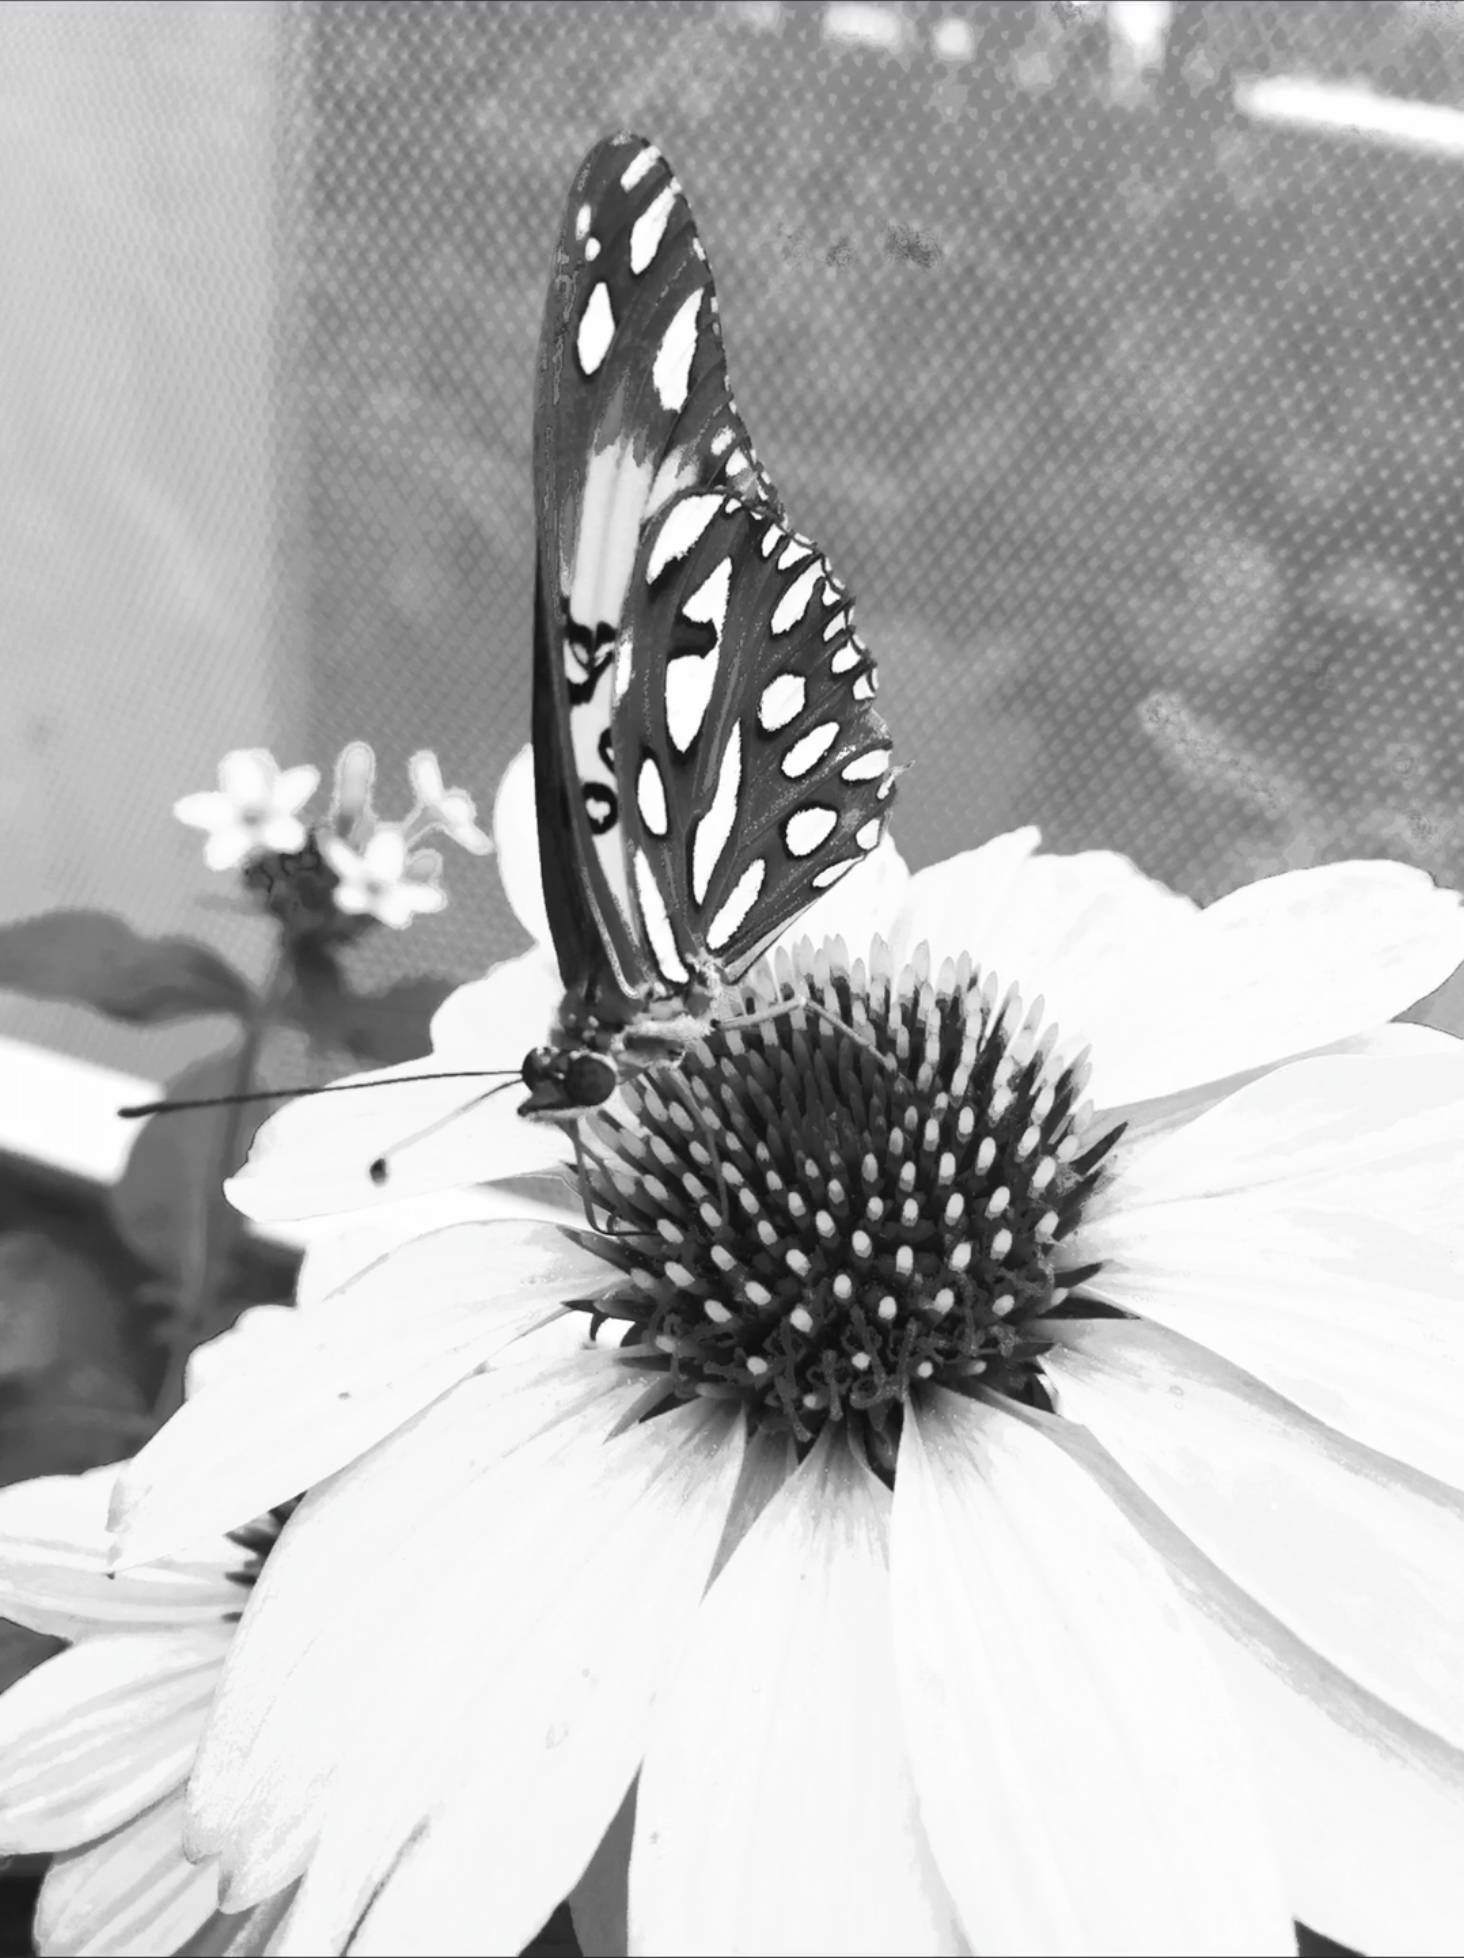
In this tutorial We will convert this image of a flower and butterfly to black and white. We will lighten the flower while darkening the butterfly to add contrast to our subjects.
 after
after
 before
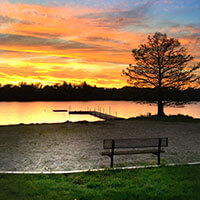
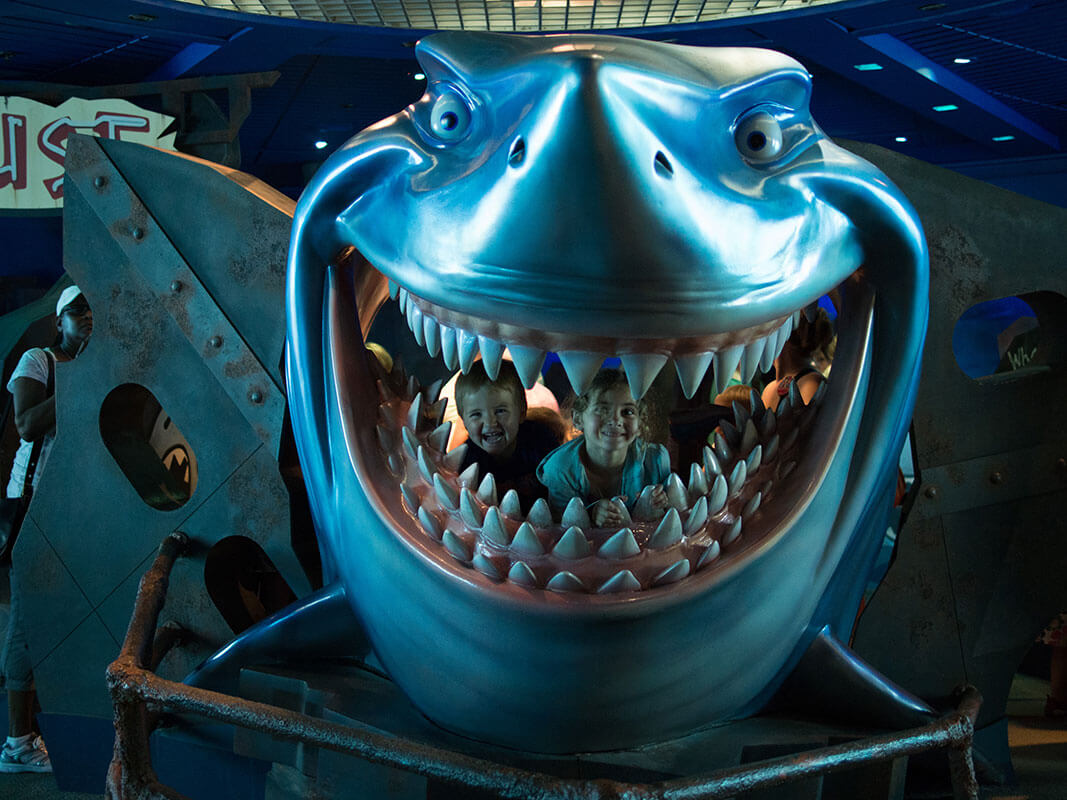
This tutorial will use a radial gradient to increase brightness in the center of the photo to highlight the faces. It will also use the vignette to bring the focus a bit more toward the center of the photo.
 after
after
 before
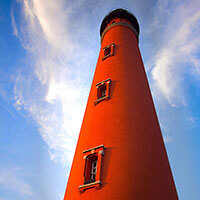
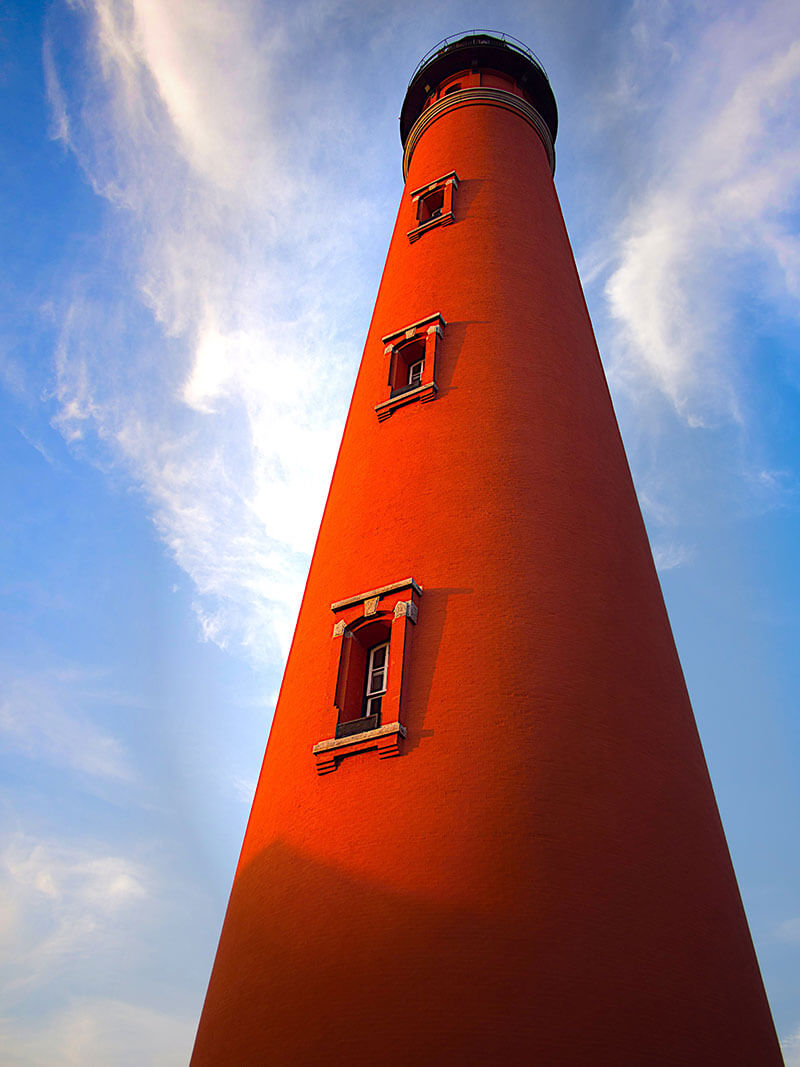
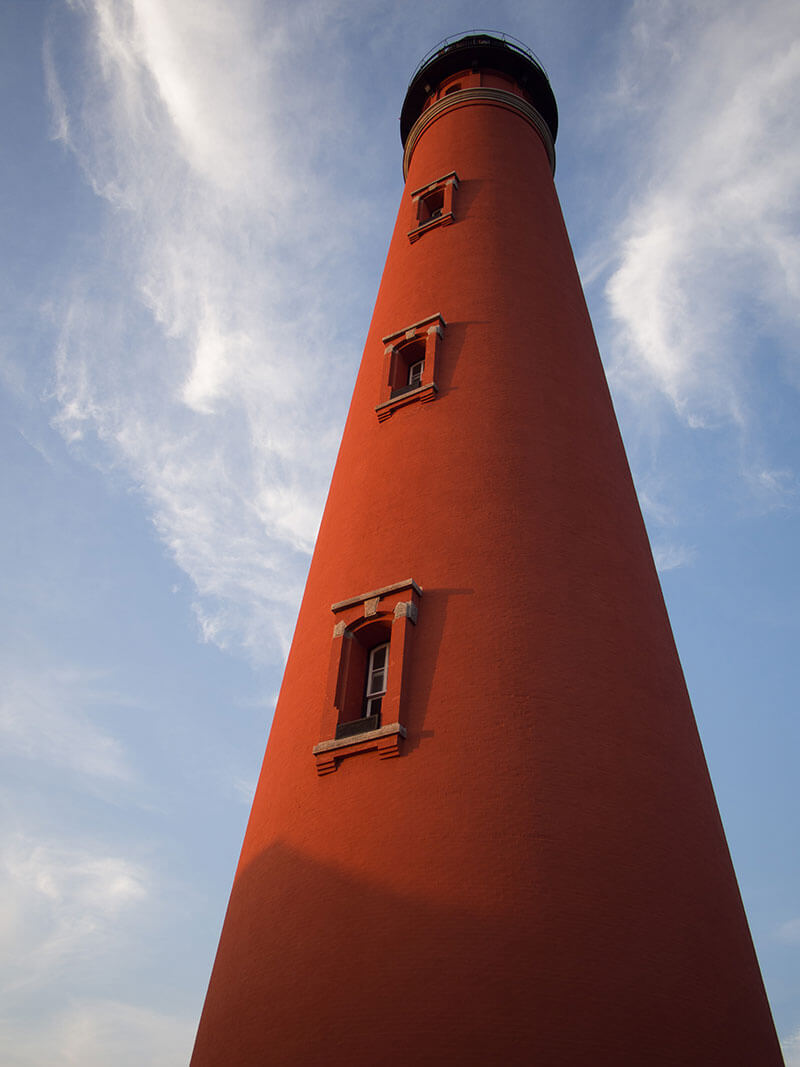
This tutorial will use two graduated masks to selectively increase saturation and slightly darken the sky. This draws your eye in toward the lighthouse. We will then use the radial mask to draw attention to the three lighthouse windows by increasing light on that part of the structure. We will also increase the saturation a bit.
 after
after
 before
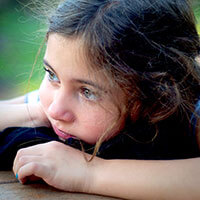
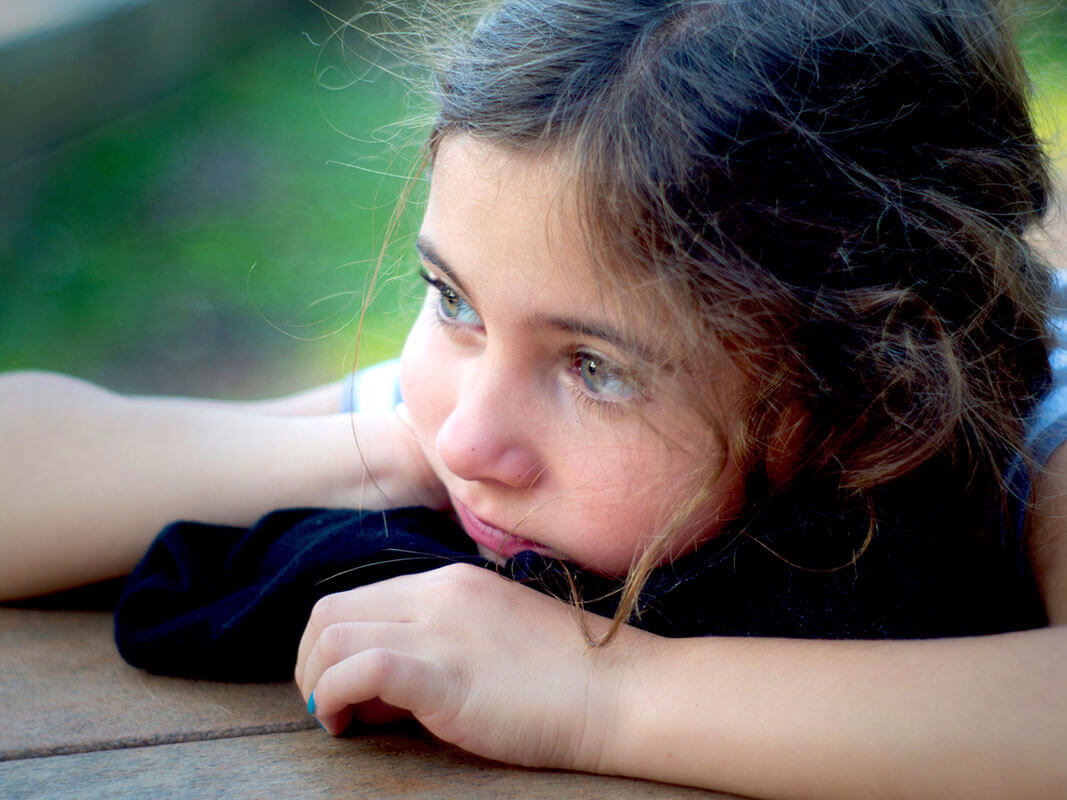
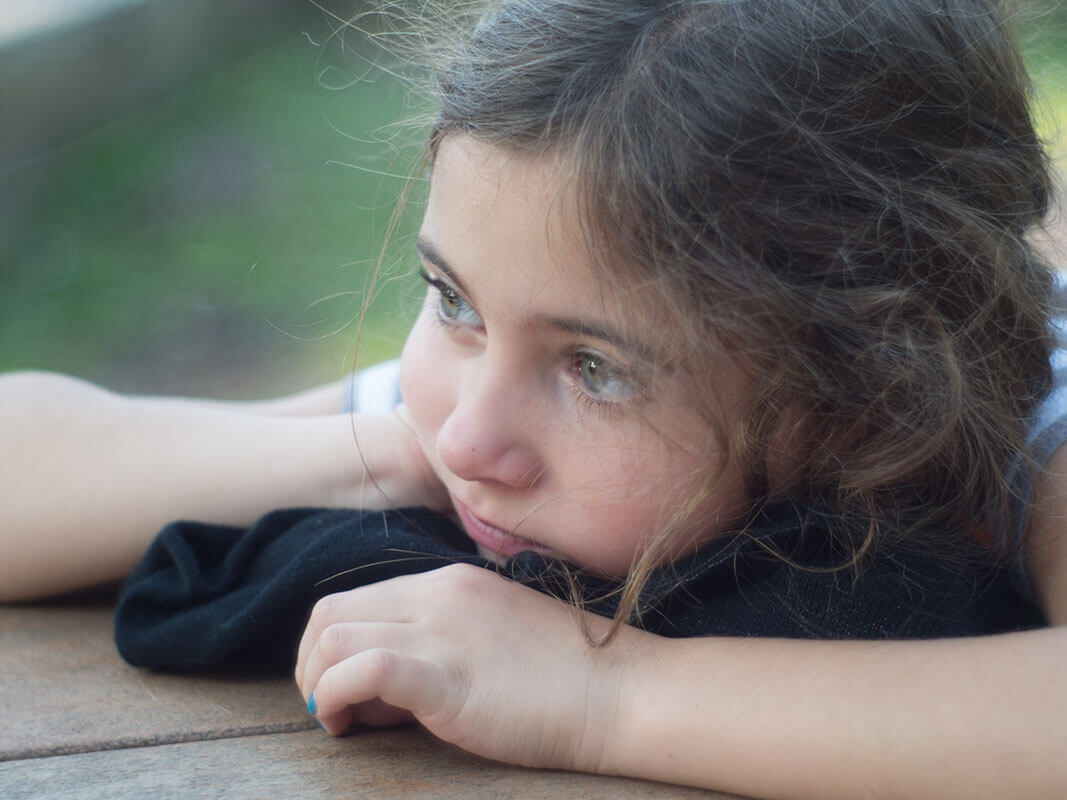
This tutorial will apply a few subtle changes to bring attention to the girl's face. We will increase the saturation slightly. We will then use a radial mask to slightly increase light on the face and increase the blacks to increase contrast slightly. A small vignette further draws the eye toward our subject's face.
 after
after
 before
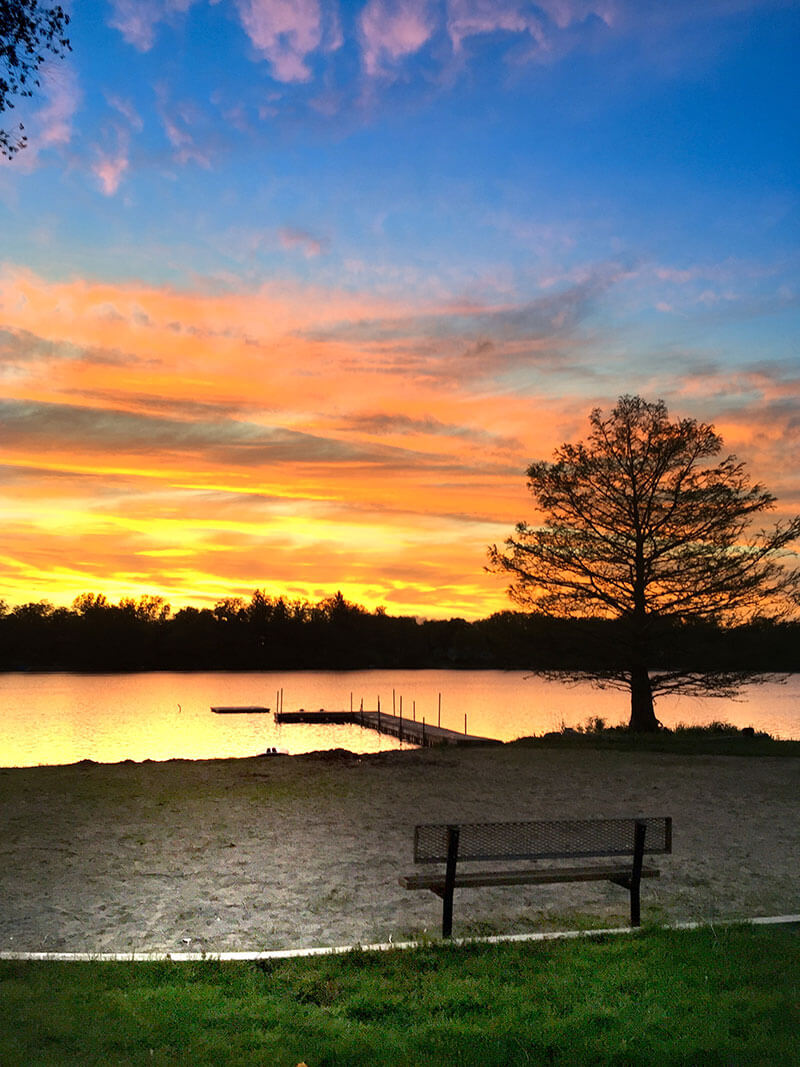
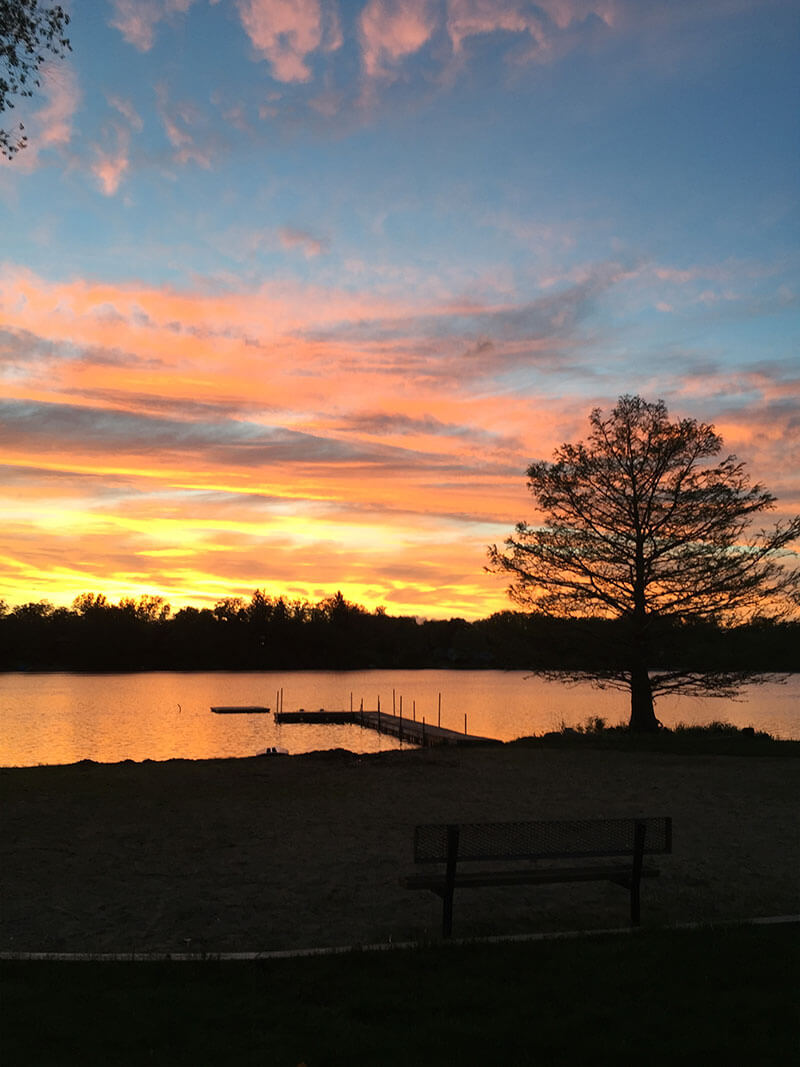
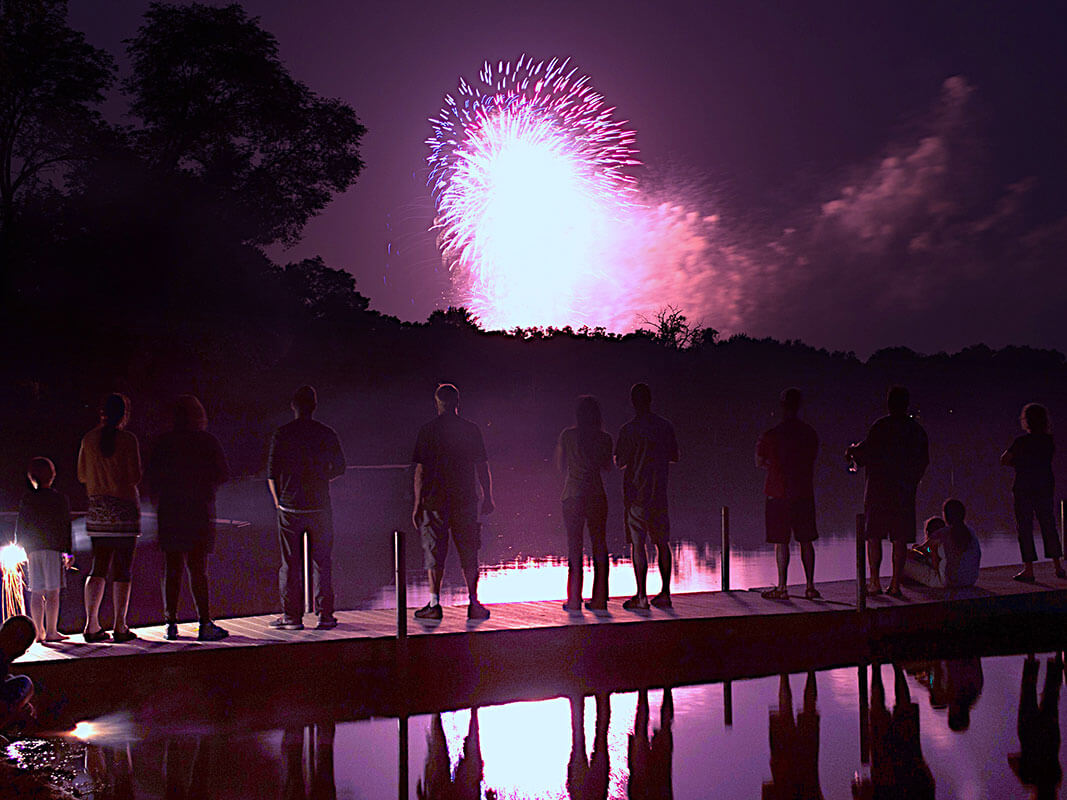
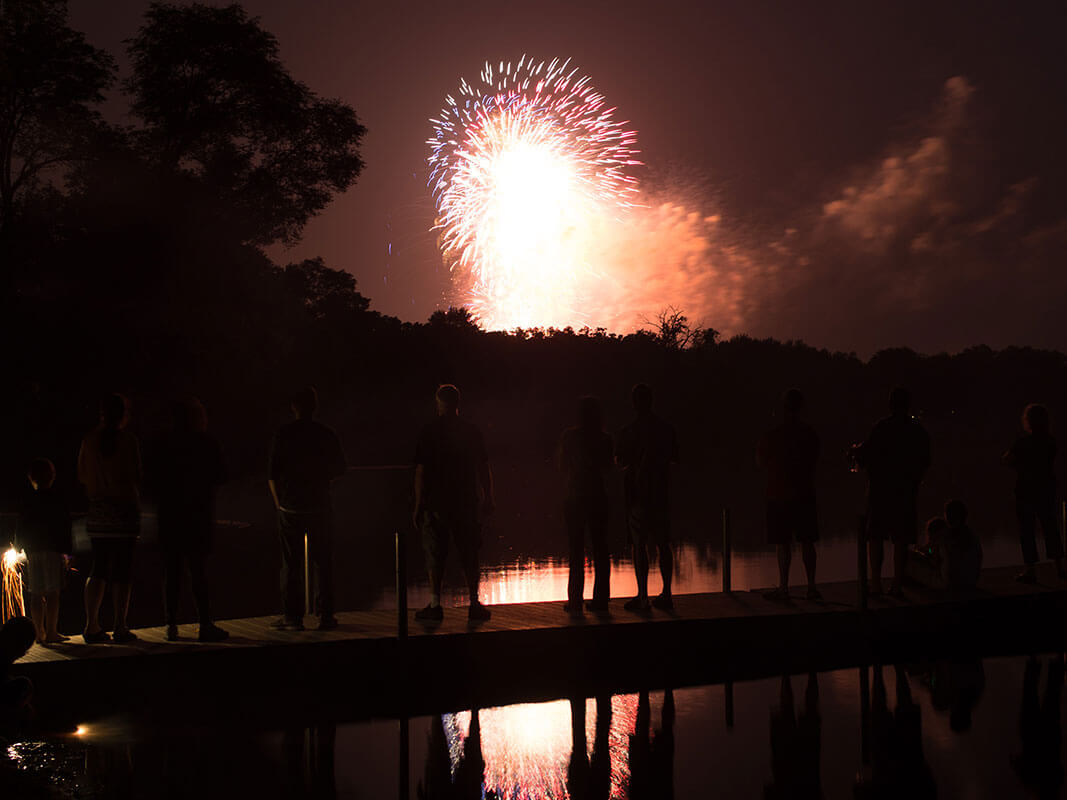
This photo has an extremely dark foreground and it's very difficult to see the figures standing on the pier. We will use a graduated gradient to increase the lightness in the foreground. We will then change the white balance to make it more interesting. Sometimes you can experiment with some extreme color changes and the look can be surprising and interesting. We also use a radial and additional graduated gradient to work on the sky and fireworks.
 after
after
 before
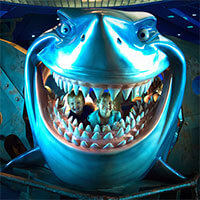
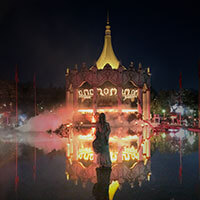
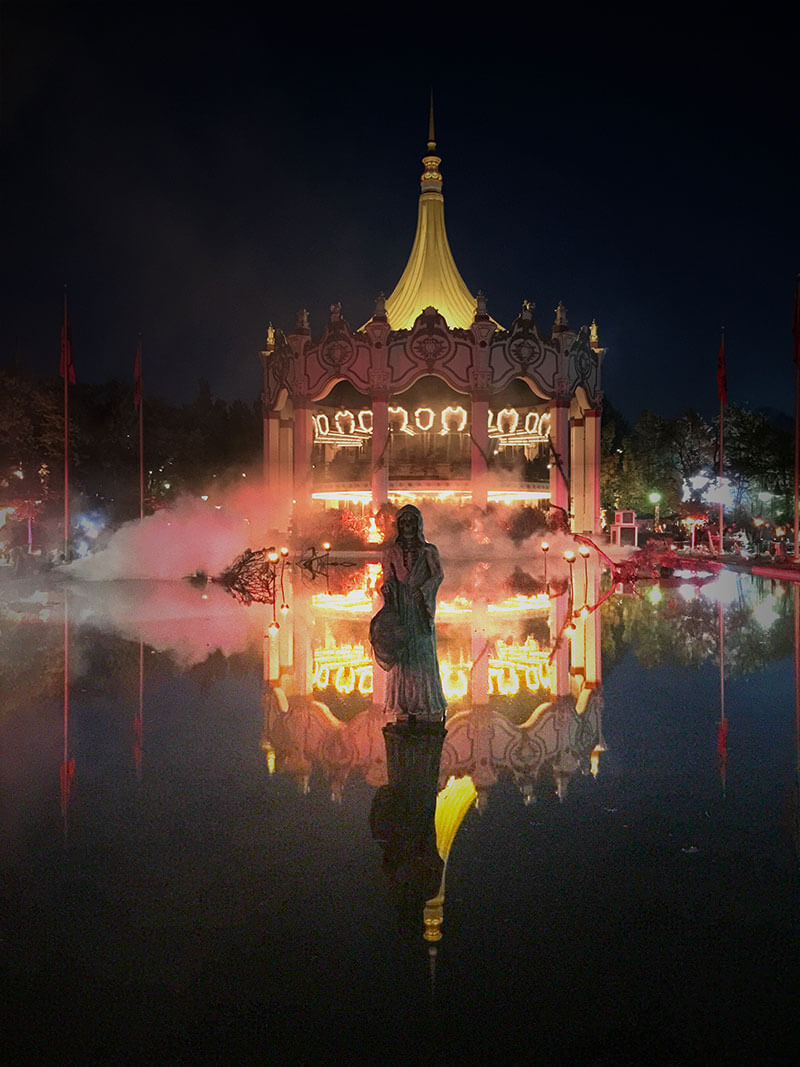
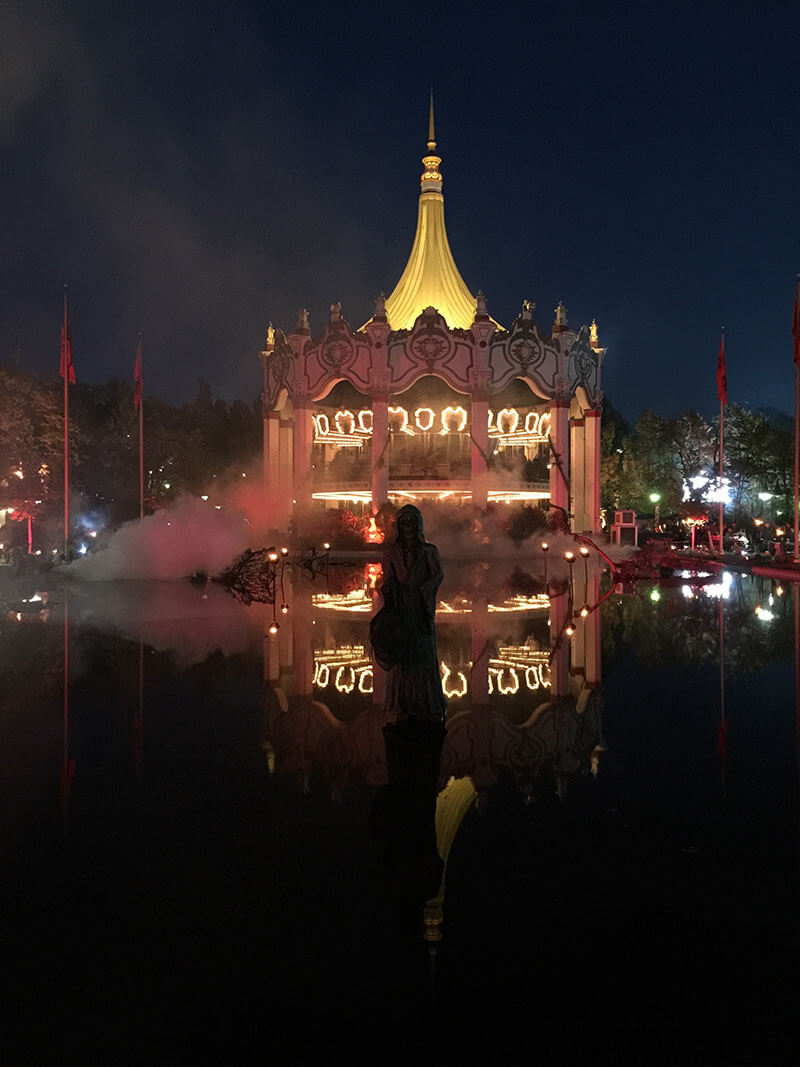
This photo was taken at night. You could see this figure in the water, when taking the photo of it with the iPhone it just came out black. We will use the graduated mask to lighten the foreground and then use a radial mask to increase the saturation and further enhance the figure and the merry go round in the background. Finally we will use a vignette to further draw the focus to our main subjects.
 after
after
 before
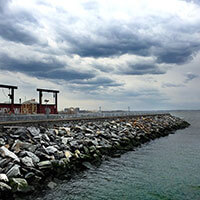
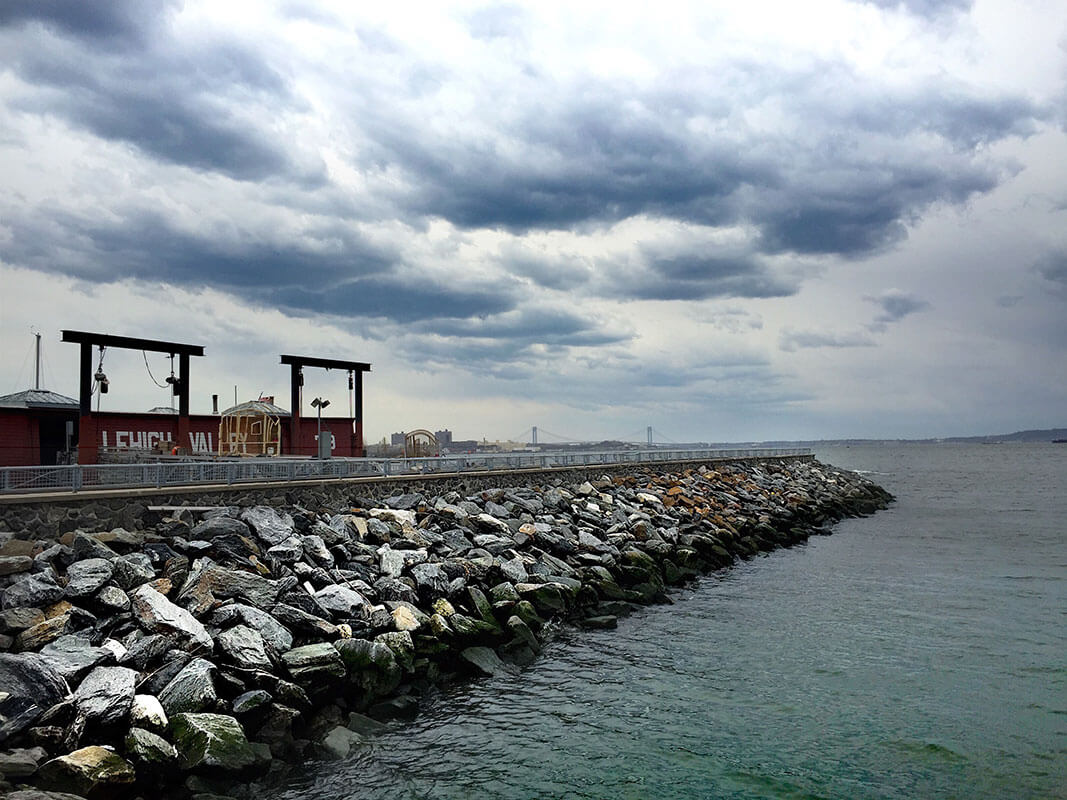
This tutorial we will use the custom mask to highlight the rocks in the photo. We will increase there brightness, contrast and sharpness. Then we will use a graduated mask to enhance the sky. Finally we will use another graduated mask to make the water color more saturated.